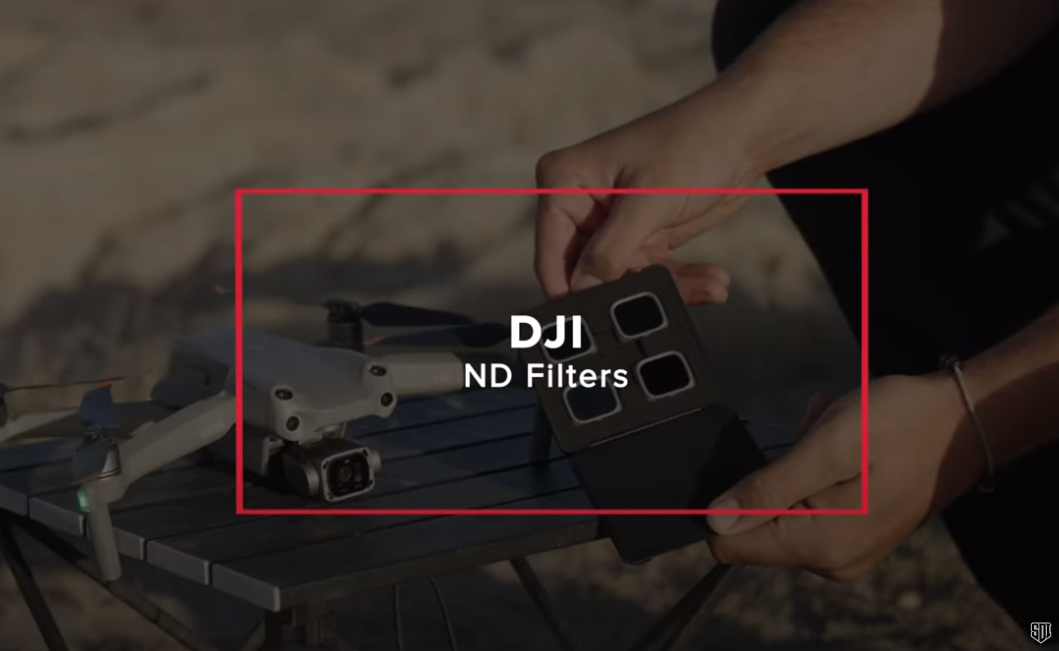
We recently talked about how utilizing DJI’s AE Lock helps you mitigate lighting changes during a shoot. But say that you’re in a situation where the light source is very consistent but also very harsh. In that case, your best bet might be using ND filters. Luckily, Kyle from Stay Gold Visuals is here to explain ND filters and how you can use them in the field.
Understanding Shutter Speed & Frame Rate
Before we address the role ND filters play in photography (particularly in drone photography), here is a quick lesson about the relationship between shutter speed and frame rate.
- Shutter Speed: the amount of time that each frame is exposed. This is measured in fractions of a second, for example, 1/50, 1/60, and 1/120.
- Frame Rate: the number of individual frames that comprise each second of video. The most commonly used frame rates are 24, 25, 30, and 60 fps (frames per second).
Shutter speed and frame rate, of course, can be manipulated by cinematographers to achieve special creative effects. However, due to the human eye’s limited ability, you typically will want to adhere to the 180-degree rule.
The 180-degree rule states that your shutter speed should be approximately double your frame rate. By sticking with this guideline, you can achieve footage that looks smooth and natural.
How Harsh Lighting Affects Your Shot
While the standard tends to work in ideal conditions, harsh lighting can throw a proverbial wrench into your shoot. Say you are filming landscapes on a bright day. To achieve the cinematic look you desire, you go with the cinematic standard 24 fps. Adhering to the 180-degree rule would make your ideal shutter speed around 50 fps.
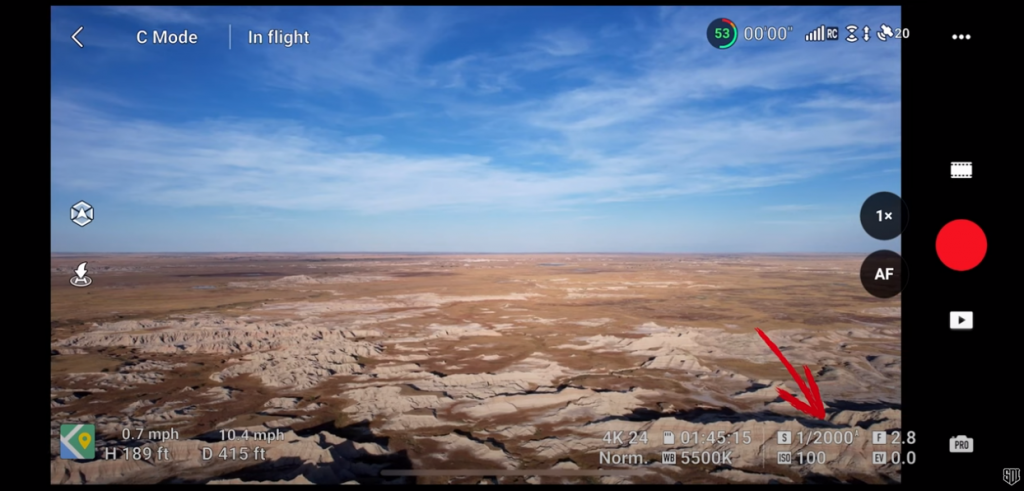
The shutter speed before the ND Filter.
However, with the harsh lighting, you have to make some adjustments. Assuming you decide to maintain the same ISO and same aperture, perhaps you raise your shutter speed to let in less light. Unfortunately, this causes your image to appear jittery.
How ND Filters Help
To combat this, you might use an ND filter. ND (Neutral Density) filters are essentially tinted lenses that you can add to your camera. By adding one of these filters, you can maintain the relationship between shutter speed and frame rate, giving you a more professional result in your footage.
Different ND filters can yield different results. In Kyle’s case, switching from ND8 to ND32 yields a noticeable reduction in shutter speed. Going further, by using an ND64 filter, he is able to get his shutter speed down to 1/60, which is close to the ideal shutter speed (when filming at 24 fps).
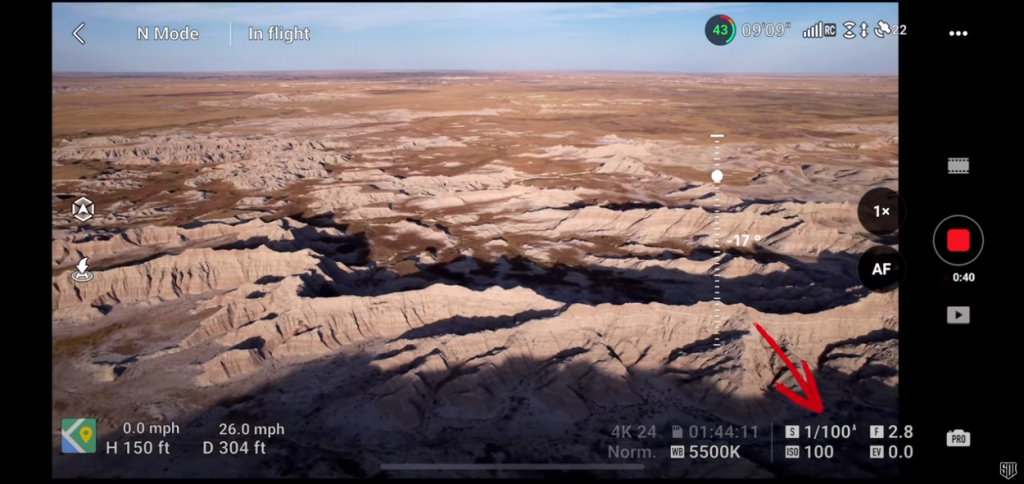
The shutter speed after adding the ND filter.
During my own time as a cinematographer, I could personally attest to the usefulness of ND filters. As for Kyle, he aptly compares ND filters to sunglasses. As he puts it, “If it’s so bright out that you need sunglasses, your drone probably does too.”
Keep Learning with SDI
Help your career in uncrewed technology take flight with Sonoran Desert Institute. To learn more about our Certificate in Uncrewed Technology – Aerial Systems program, click here.

