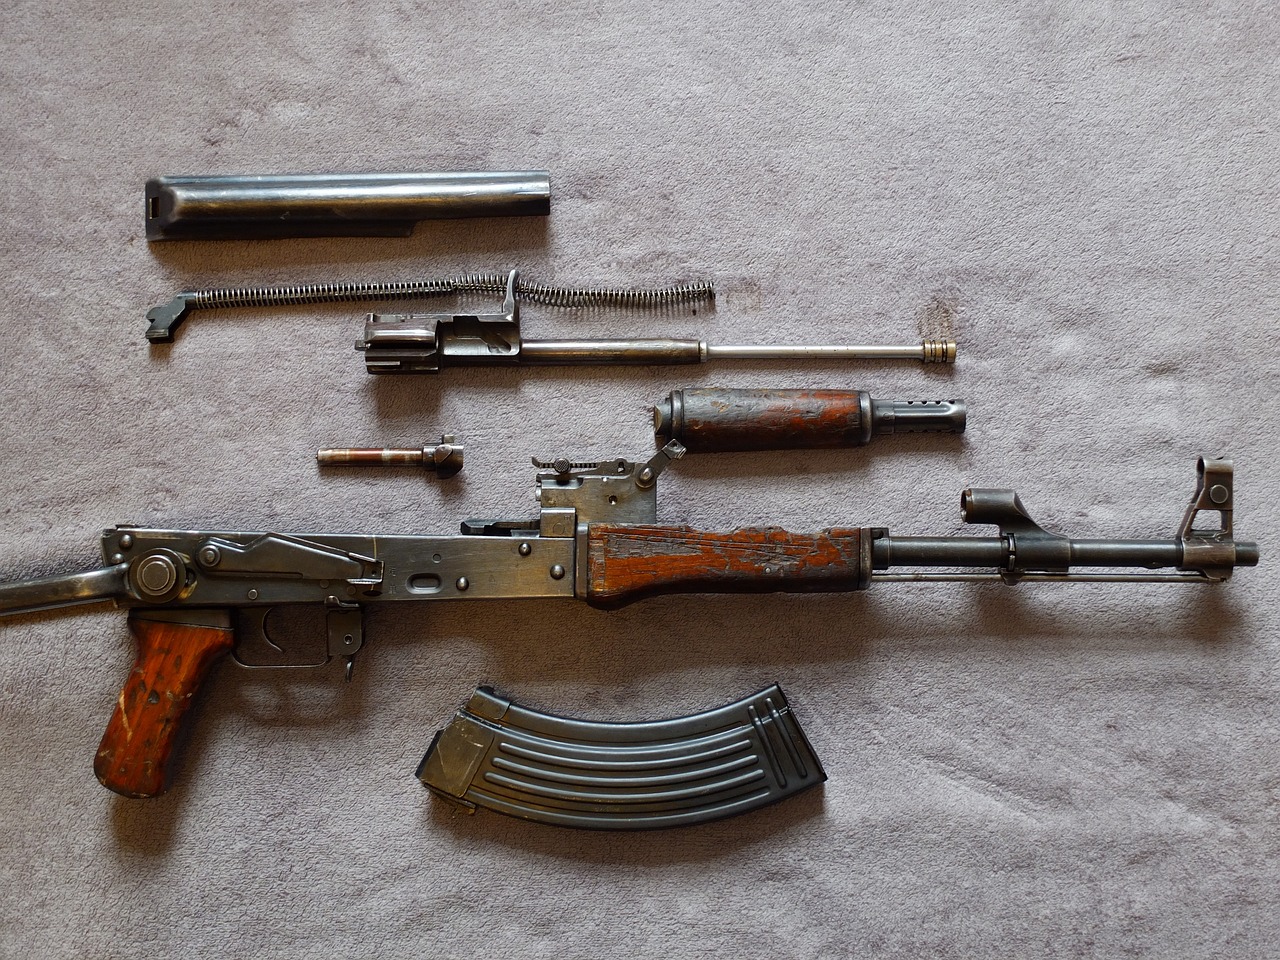
I’ve written about modernizing the AK platform a bit recently. (Check out our two-part series on how to add an optic mount to your AK) One more great way to update this venerable weapon system is by swapping out its stock trigger. We’ll take a look at how to change an AK trigger in this post.
The ALG AK Trigger
Now let me start by saying that I’m actually a fan of the AK’s stock trigger. However, ALG manages to improve on this design by shortening the AK trigger’s length of pull. The ALG trigger also adds an extra spring to help reset the trigger quickly. It may not be a smooth competition trigger, but it’s great for putting a lot of lead downrange quickly.
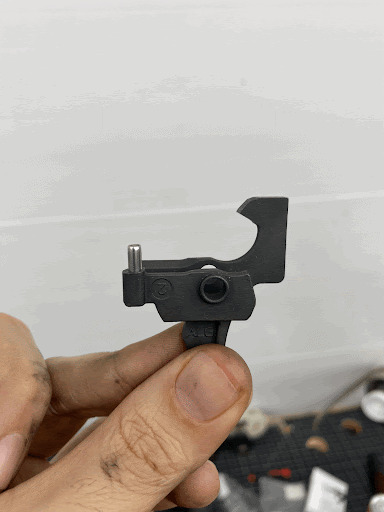
I have already installed one of these on my AK pistol, and now it’s time to upgrade my trusty WASR. An ALG AK trigger has six main components:
- Trigger
- Hammer
- Disconnector
- Disconnector spring
- Reset spring
- Safety pin
You’ll also be reusing your AK’s current hammer spring.
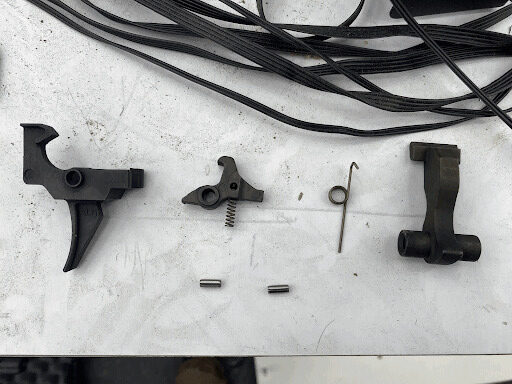
The components of an ALG AK trigger group. Note that you only need one of the cylindrical pins; the second is an extra.
Changing an AK Trigger
It’s time to roll up your sleeves and clamp your favorite AK into a vise. Don’t forget to use plastic, rubber, or aluminum covers so the vise’s jaws don’t mar your receiver.
Step 1: Remove Old Fire Control Group
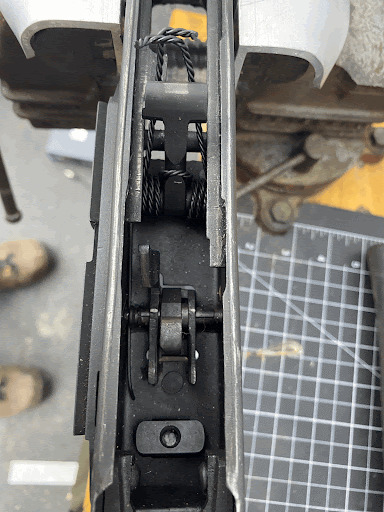
You’ll need to start things off by removing your AK’s current trigger group. To do that, the first step is to field strip the gun. Then, look down into the receiver. You should see this:
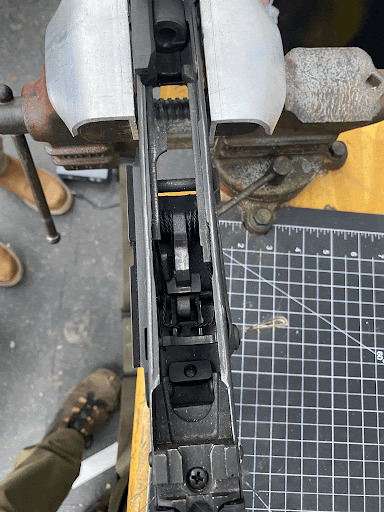
Looking down into the factory-installed fire control group.
Pull the trigger and ease the hammer forward. Now, remove the safety. You can do this by rotating it until it points upward and then pulling it out to the right of the receiver.
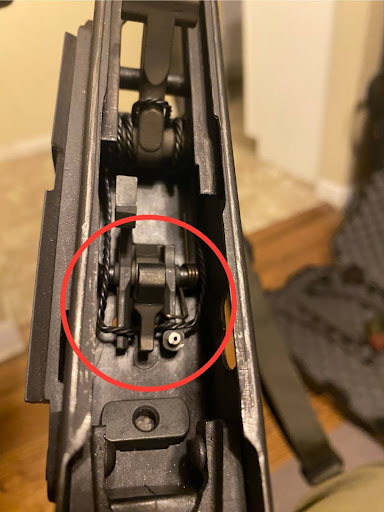
Next, take the two wings of the hammer spring (circled in red above) and lift them up to wrap them around the front of the hammer. Use a rubber band to hold them in place. It should look like this:
Then, you’ll need to remove the “shepherd’s hook” pin retainer. This is a piece of hooked metal on the left side of your receiver. Use a needle-nosed plier to pull the hook towards the front of the receiver. This is probably one of the most difficult parts of the entire process, so don’t get discouraged!
With tension relieved, you can use a punch to remove the hammer pin. Once that’s out, you can remove the trigger and then the hook. Finally, use the punch to remove the trigger pin. Hang on to those pins for the next step!
Step 2: Install ALG AK Trigger Group
First, slide the disconnector spring into the disconnector. It should stay there.
Now, insert the safety spring into the cylindrical hole facing upwards on the trigger itself. It looks like this:
Whack that sucker with a mallet until it bottoms out in the hole. Then, you’ll need to file it down so that the safety just barely passes above it to keep the trigger from moving. This should take about 12 swipes with a file, but your mileage may vary.
Note that adding this pin is technically “optional.” But be aware that if you don’t add it, your gun’s safety will not interface with the trigger. In other words, you can pull the trigger with the safety on. I always err on the side of caution and add the pin.
Now, align the hole through the trigger and disconnector with the trigger pin hole. Push the trigger pin through the hole in the receiver and then through both holes in the trigger and disconnector.
Stop before you completely push the pin through the receiver, though. You’ll want to insert the trigger reset spring here. It sits between the trigger and the receiver on the right side. Slide the pin through the hole in the trigger reset spring and then out the other side of the receiver to hold the entire assembly in place.
Now it’s time to install the new hammer. Remove the hammer spring from the old hammer and wrap it around the new one. Then, re-insert the hammer and use the hammer pin to hold it into the receiver.
Step 3: Install Retention Plate, Reassemble, and Function Check
Remember how awful it was to remove the shepherd’s hook? Yeah, we’re not gonna deal with that thing anymore. Instead, we’re going to use a retention plate.
Retention plates make it super easy to tinker with your trigger group. Just clamp the opened side around the hammer pin, then push it down so the crescent cutout presses down onto the trigger pin. Once you’ve done that, you can push the safety back through to hold the retaining plate in place.
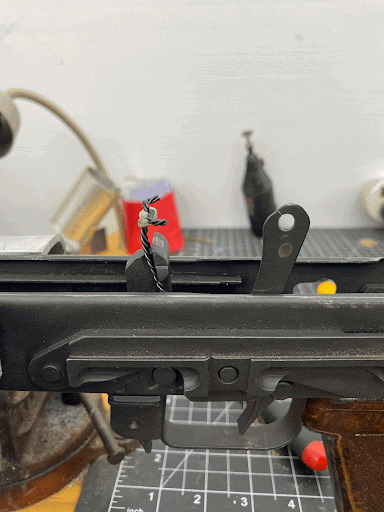
Using a retaining plate (right) will make your life a whole lot easier.
After re-inserting the safety, rotate it downwards until it clicks into the “fire” position. Now, reassemble the rest of the firearm.
Now that you’ve put your gun back together, engage the safety to make sure it still works. If it doesn’t, you’re going to need to take the gun apart again and file the safety pin down farther. If you go too hard with the file, your trigger kit comes with a spare.
If the safety is working properly, rack the bolt a few times and test out your trigger to make sure everything’s functioning. You’ll notice a huge difference in trigger distance as well as a fast reset. I’m a huge fan of ALG AK triggers, especially in guns intended for close range.
Congrats! You’ve survived your first AK trigger job. Pat yourself on the back and crack a beer— you deserve it.
Learn More About Firearms at SDI
Do you love improving the functionality of your favorite firearms? At SDI, you can explore that passion. Check out all the programs they offer when you click here.
RELATED STORIES