Gunsmithing Quick Tips: Fix Light Strikes on Your Smith & Wesson Revolver
- Jack Collins
My Smith & Wesson 686 is one of my favorite guns to shoot. For one, it’s crazy accurate, and it’s much easier to shoot than any semi-auto gun. For another, it’s crazy reliable, and has only ever had one malfunction.
Unfortunately, it was a pretty big malfunction.
I noticed that sometimes, my revolver wouldn’t go “boom” when I pulled the trigger. Instead, I’d be getting “light strikes,” where the firing pin would make a visible dent in the primer without actually setting it off.
I was going to drop the gun off at a gunsmith to diagnose the problem. But one of the guys who works at my local range mentioned that he’d seen this before. He said that the culprit was likely the gun’s mainspring.
So, I headed home to try and fix the problem. In less than 10 minutes, I’d succeeded, and I haven’t experienced a single light strike — or any other problem — ever since. Here’s how I did it.
Fixing Light Strikes: Tightening Smith & Wesson Revolver Mainspring Tension
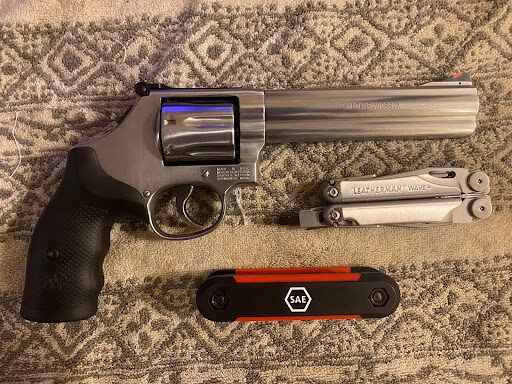
Everything you’ll need for this operation: a 3/16-in. Allen key and a flathead screwdriver.
Step 0: Make Sure the Gun Isn’t Loaded
This is pretty easy with a revolver. Just pop the cylinder out and visually confirm the gun is empty. If it’s not, clear it.
Step 1: Remove the Grips
The mainspring is located in the gun’s frame beneath the grips. To access it, you need to remove the grips. For a Smith & Wesson 686, you’ll need a 3/16-in. Allen (hex) wrench. This will be the same for any Smith & Wesson L-Frame revolver, but other grips may require different tools.
Remove the grips to reveal the mainspring.
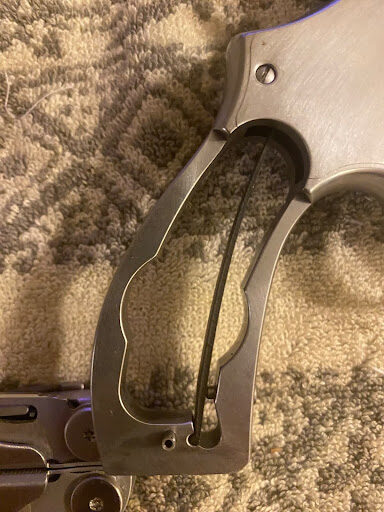
The mainspring is the piece of spring steel running down the middle of the frame in the picture above.
Note that it’s not what someone typically thinks of when they envision a “spring.” Instead of holding tension in a coil, it does so by bending.
Step 2: Tighten the Mainspring Screw
On the frame beneath the trigger is a screw that presses against the mainspring. Use a flathead screwdriver to tighten this screw. The screw should be fully tightened against the mainspring –— don’t leave any wiggle room.
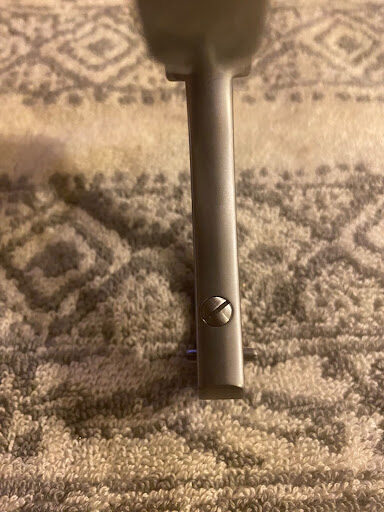
Looking down at the mainspring screw from beneath the trigger guard.
Step 3: Reassemble and Test
After tightening the mainspring screw, replace the grips. Then pull the trigger in both single- and double-action to ensure the gun functions properly.
The next step requires a range trip. Take the revolver out to your local range and start sending lead through the pipe. Do this with multiple kinds of ammo if possible. If you’re not getting any light strikes, congratulations! You’ve successfully repaired your revolver!
Learn More About Gunsmithing at SDI
I’ve heard better shooters than me say that “revolvers don’t jam, they break.” There may be some truth to that. But maintaining a revolver is no problem for a trained gunsmith like the ones who study at SDI. To learn more about the programs SDI offers, click here.
RELATED STORIES