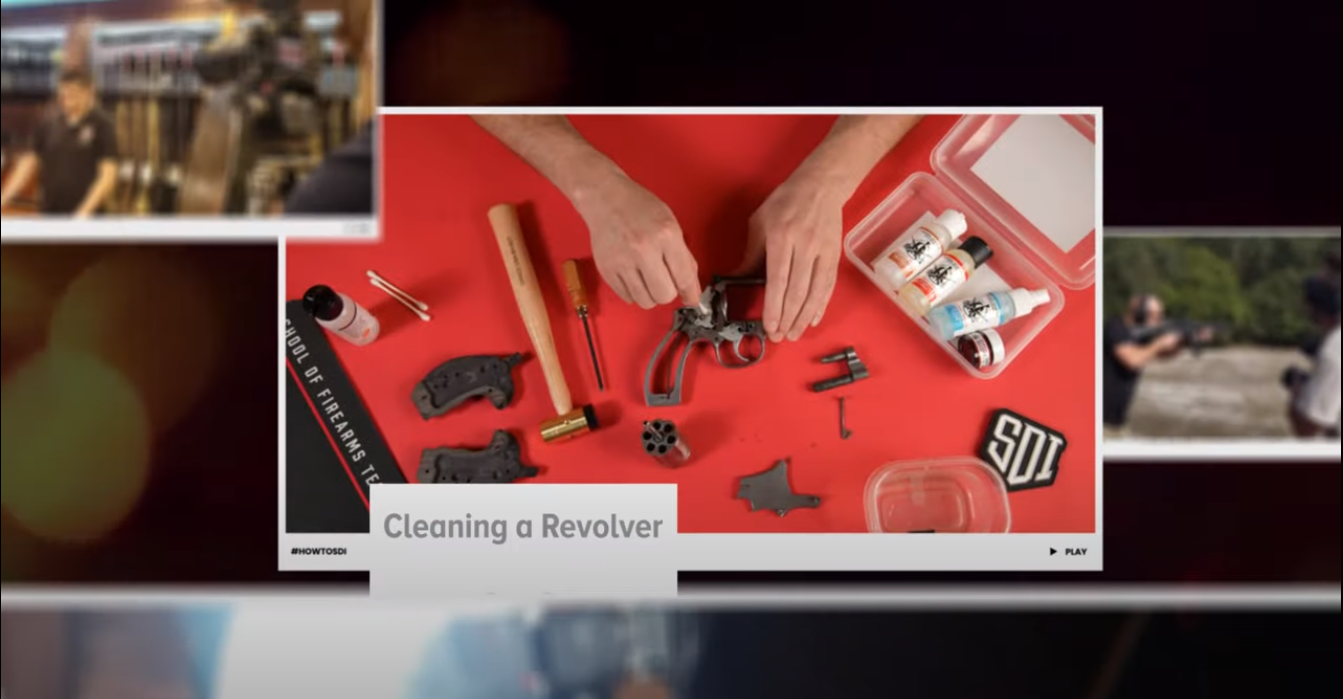
A nice revolver is like a watch It has a ton of small parts that all need to work together at the same time to make the gun go bang. And that can’t happen if those parts are dirty. There are few things that suck more than a dirty revolver, but never fear. SDI’s chair of firearms technology Rick Casner is here to show us how to clean a revolver.
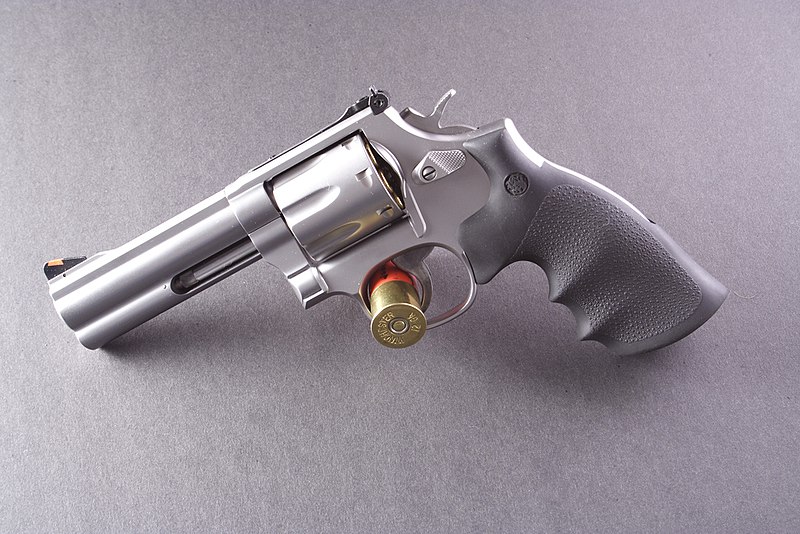
A Smith & Wesson 686 similar to the one Rick cleans in the video. Image courtesy of szuppo.
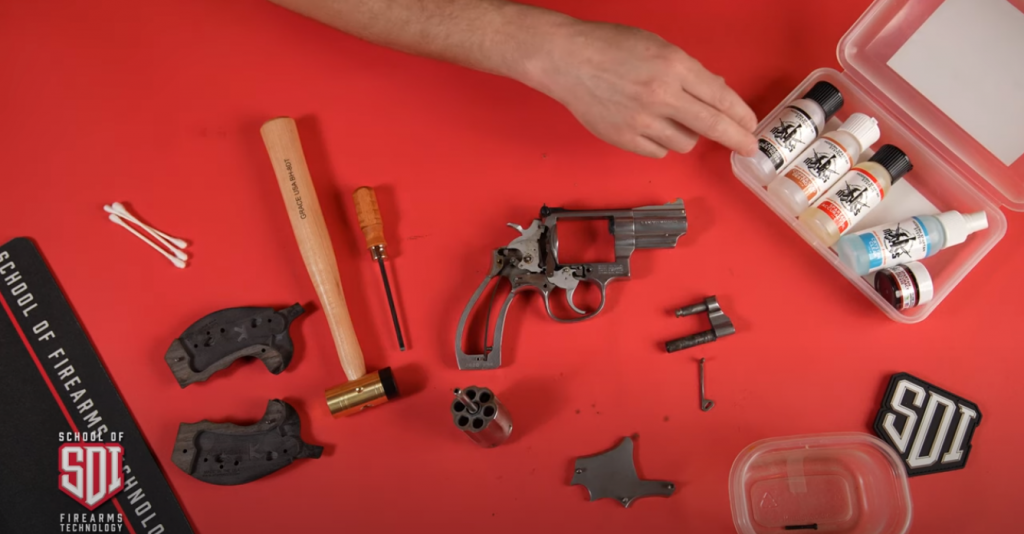
What’s in A Revolver Cleaning Kit
Before you get started, you need to assemble your revolver cleaning kit! For this video, Rick uses the Modern Spartan Systems cleaning system. This is also one of the kits you’ll receive as an SDI student. The Modern Spartan Systems kit consists of five different components. You’ll need three of them to clean a revolver:
- Carbon solvent—for general removal of carbon fouling
- Copper and lead solvent—useful for cleaning out stubborn spots and the gun’s bore
- Oil—to get the gun operating smoothly; also helps resist oxidation
The rest of the kit also includes a lens cleaner for optics and gun grease. You won’t need to use either of these last two cleaners, but you’ll be happy you have them if you ever pick up some nice glass or a gun that needs grease to operate (like an M1A).
Outside of these cleaners, you’ll also want some Q-tips, nylon brushes, some cleaning patches, bore jags, and a bore brush in your gun’s caliber. If you’re an SDI student, you’ll receive these tools in the mail.
How to Clean a Revolver
Now that you have your cleaning kit assembled, you’re ready to start scrubbing your revolver. Apply some of the Modern Spartan Systems carbon solvent to a Q-tip and begin applying it to the areas you see carbon buildup. For particularly stubborn spots, Rick uses a bronze scraper. Bronze is softer than steel, so it won’t damage any of the gun’s components.
Rick mentions that a lot of the fouling he’s cleaning is the result of packaging grease that’s melted and become tar-like. If you’re into milsurp guns, you’re probably familiar with one type of packaging grease: Cosmoline. Eventually, this grease can gum up a gun’s components and prevent it from functioning properly—especially if it gets hot from lots of shooting.
Obviously, you should scrub away any carbon, lead, or copper fouling you see on any of the gun’s surfaces. But that might not be the only place with fouling. Make sure you scrub the inside of the revolver’s yoke as well!
Once you’ve cleaned away fouling from the gun’s internal parts, apply some light oil. Don’t apply too much, since extra oil can attract more grime.
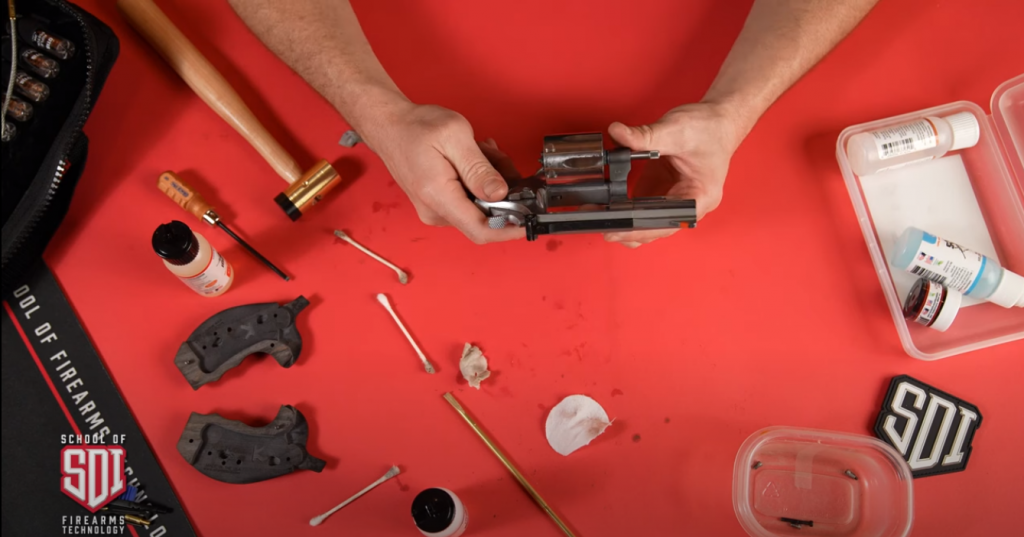
Reassembling a Revolver
Now that the gun is clean, it’s time for Rick to reassemble it. First, he slides the cylinder onto the yoke. Then, he slides the yoke into the body of the revolver.
Next, he inserts the drop hammer block safety back onto the rebound slide. Then, he reattaches the sideplate. To do so, he taps lightly around the edges with a nylon mallet to fit.
At this point, Rick performs a function check. He dry fires the gun a few times in both single- and double-action to make sure everything’s working correctly.
After he’s sure everything is functioning properly, Rick reattaches the sideplate screws, ensuring that he’s putting them all back in the same holes he took them from. Rick notes that you want to use finesse for this—don’t torque too tightly.
Finally, Rick reassembles grips. Voila! This revolver is ready to get back to work.
Learn About Revolvers and More at SDI
Does the thought of working with revolvers and other firearms heat your barrel up? At SDI, we can help you learn the skills you need to become a professional in the industry. To learn more and check out the classes we offer, click here.
RELATED STORIES