Red dot sights are a great way to improve your pistol shooting accuracy. But first, you need to get the optic on your gun. And while it’s not super difficult to mount a pistol red dot once you learn how to do it, the first time can be a little intimidating. Fortunately, we have SDI grad Caleb Downing here to show us how to mount red dot sights for handguns.
Tools You’ll Need to Mount a Pistol Red Dot
Before we get started, you’re going to need to assemble these tools before you can mount a pistol red dot.
- Degreaser: To ensure proper interfacing between screws and slide.
- Threadlocker: Blue Loctite is a great choice. Avoid using anything permanent like Liquid Cement or Red Loctite—you may want to remove this optic at some point.
- Tools: For one, you’re going to need the correct type of screwdriver for your optic’s specific heads. You may also need a way to adjust windage and elevation. If you need any specific tools, they’ll often come with the optic.
- Laser Boresighter: This handy tool can help you get your pistol’s optic close to zeroed and will save you a bunch of time at the range.
Pay Attention to Your Slide’s Optic Footprint!
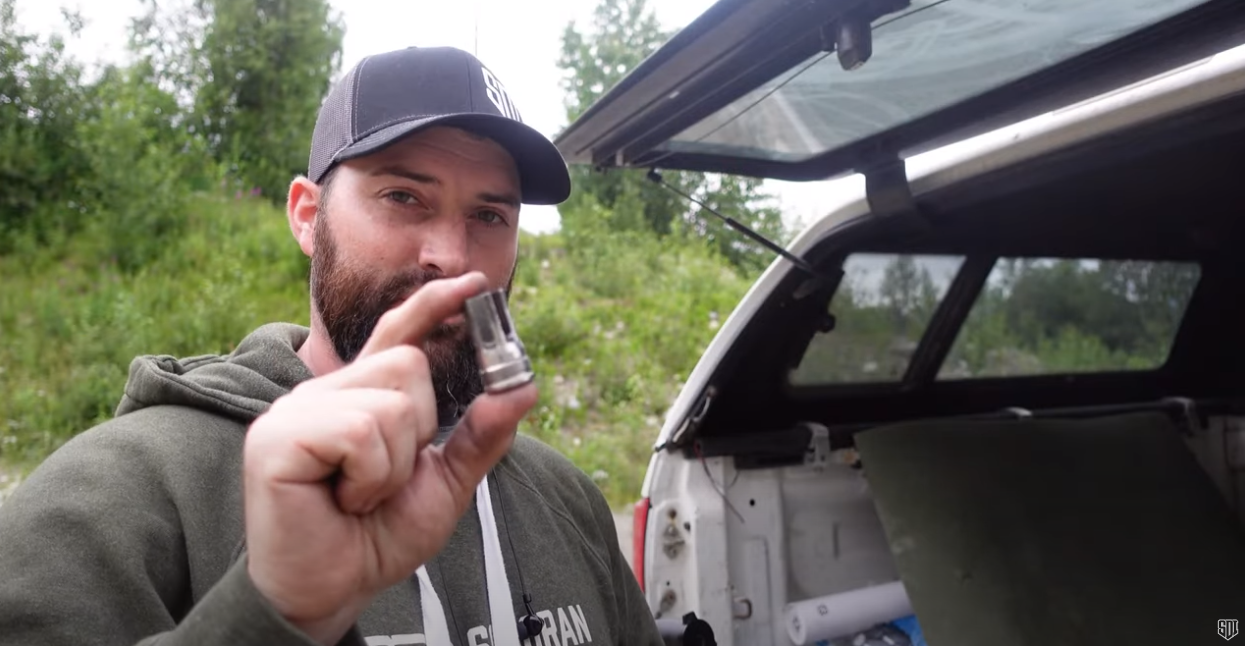
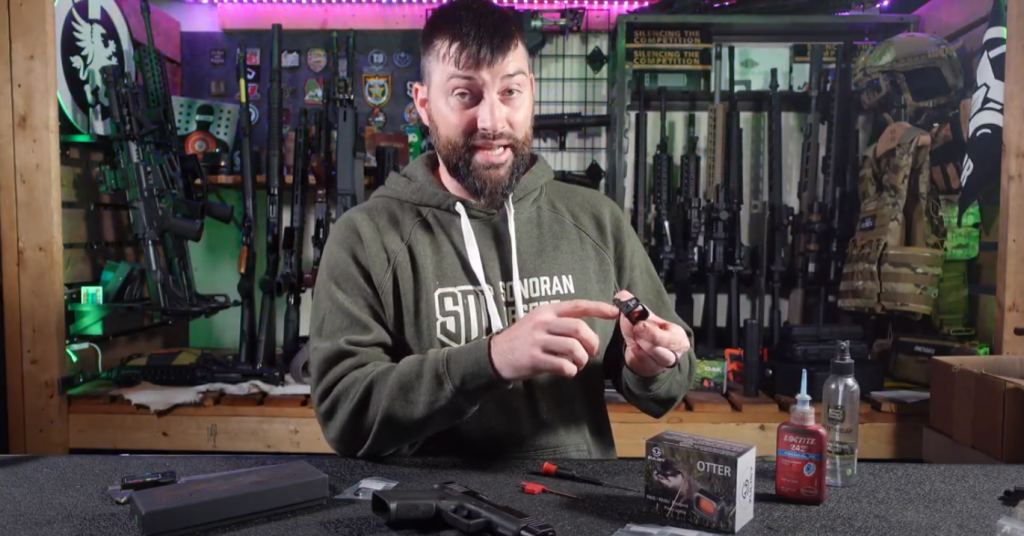
For the purposes of this video, Caleb is using a Glock 48 MOS slide with a Glock 43X frame. The G48 MOS comes with a factory RMSC optic cut, so you can easily attach any optic with the same footprint. Caleb picked up a Zulisy Otter pistol red dot for this video, which has a RMSC footprint that’s compatible with the MOS’s optic cut.
Caleb emphasizes making sure your optic fits your firearm’s optic cut.
How to Mount Red Dot Sights for Handguns
To get started, unscrew and detach the optic plate from the slide. Then, degrease the slide. If you’ve shot the gun before, you’ll definitely have some gunk in there. Even a new gun may have long-term preservative oil from the manufacturer. Wipe down with a shop towel.
Next, find the right screws for your specific gun. Optics often come with different types of screws that will work with different guns To find the right match, compare the screws from your pistol’s optic plate to the ones that came with your optic. Pay close attention to the thickness, length, and threading. When you think you have the right ones, dry fit them into the slide cut to make sure they’re the correct type.
Brief Sidebar
Here’s where you’re going to get into something that’s specific to the Glock platform. On Glocks with optic cuts, the right screw hole extends all the way down into the chamber where your extractor lives. If you use a screw that’s too long, you can pinch your extractor spring and cause your gun to malfunction. As a result, you’ll need to shorten one of your screws with a file.
While this is only a problem for Glocks, it illustrates an indisputable fact about gunsmithing. No two platforms are alike. What may work well for one type of pistol doesn’t work for another. As a result, you want to make sure you do your homework before you start trying to mount an optic. That will help you plan for any potential quirks.
Back to Business
With that out of the way, let’s get back to covering how to mount a pistol red dot. Put a small dot of Loctite onto the screw’s treading to help hold it in place. Then, attach the optic to the pistol using the screws. Some optics will give you specific torque recommendations, but if they don’t, just get the screws hand-tight.
Caleb also mentions that you can put a dot of marker on each of the screws. This way you’ll be able to notice if they start backing out.
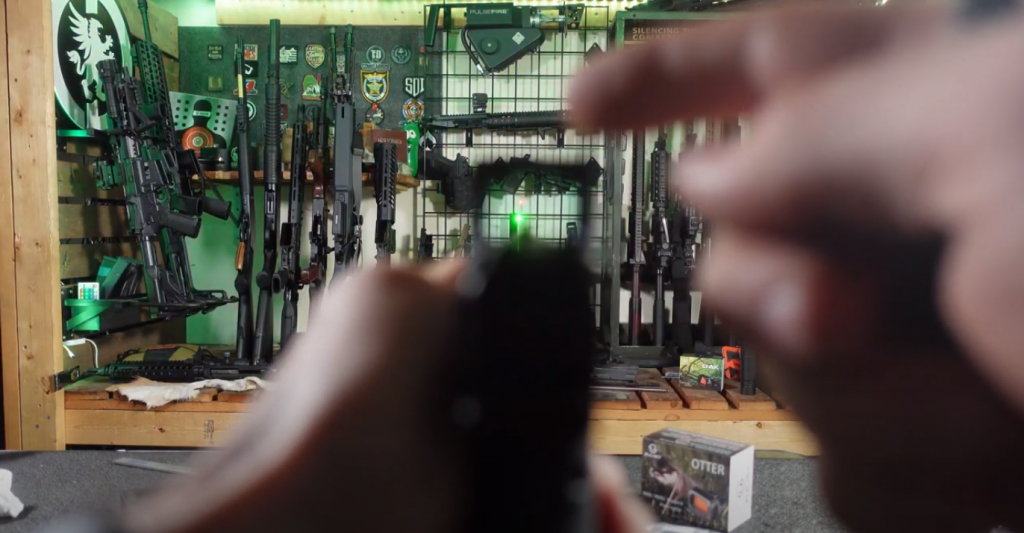
A laser boresight will help you immensely with knowing how to adjust your red dot.
Bore Sighting
At this point, you’ve successfully connected the optic to the gun. Now, you can use a laser boresight to make sure your pistol is hitting in the same zip code as your optic’s point of aim.
You’ll want to adjust the elevation and windage of your optic until its red dot lines up with the one from the boresight. Make sure windage is the same and elevation leaves your red dot slightly above the bore laser.
Once you have your bore laser and red dot lined up, you’re done! You’ve successfully mounted a red dot on a pistol—now hit the range and fine-tune your adjustments.
Learn How to Mount Optics and More at SDI
Do you love firearms and want to learn more about how to customize them? At SDI, we can teach you how to mount optics, clean firearms, and even build your own AR-15. To learn more and explore all of the classes we offer, click here.
RELATED STORIES